

Introduction
Two Wild Hares is a well-known name in the bath and body community. Their recipes are highly sought after, and they offer a wide range of products and resources to help customers create their own DIY bath and body products. One of their most popular recipes is the bubbly bath bar, which promises to provide an indulgent bubble bath experience. In this blog post, we will take a closer look at Two Wild Hares and their recipe for bubbly bath bars.
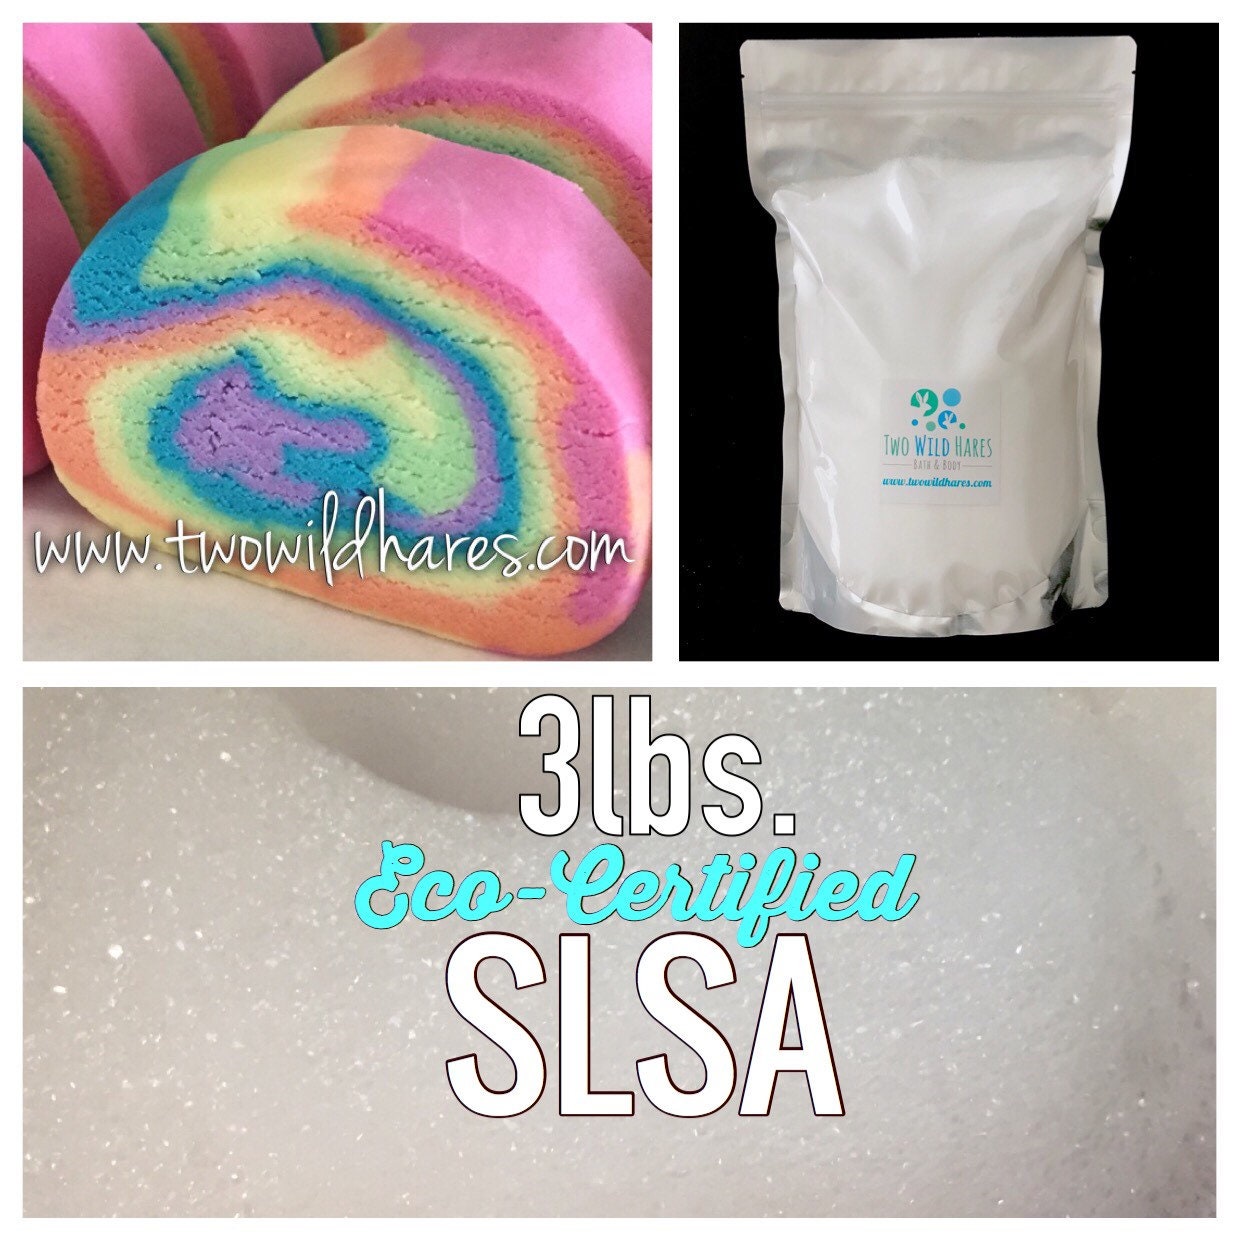
Introduction to Two Wild Hares and their bubble bar recipe
Two Wild Hares is a small business run by two sisters who share a love for bath and body products. They offer a variety of resources for customers, including recipes, tutorials, and ingredients. Their bubbly bath bar recipe is one of their most popular offerings. The recipe promises to create a luxurious bubble bath experience that is both fun and relaxing.
To make the bubbly bath bars, customers need to follow the recipe included in the PDF download provided by Two Wild Hares. The recipe is foolproof and comes with detailed instructions on how to create the bars, along with alternate instructions for hot and humid climates. Customers will also learn how to create the dough and color and portion it for shaping. The recipe includes two methods to create the beautiful jelly roll design, which is a signature of Two Wild Hares’ bubbly bath bars.
The benefits of using a bubble bar over traditional liquid bubble bath
There are several benefits to using a bubbly bath bar over traditional liquid bubble bath. First, bubbly bath bars are more economical since they last longer than liquid bubble bath. They also create more bubbles, making the bath experience more indulgent. Bubbly bath bars can also be customized to include different scents, colors, and designs, allowing customers to create a unique and personalized bath experience.
Overall, Two Wild Hares’ bubbly bath bar recipe is a great option for anyone looking to create a luxurious and personalized bubble bath experience. The recipe is easy to follow and comes with detailed instructions and resources. Using a bubbly bath bar over traditional liquid bubble bath has many benefits, including a more indulgent experience and greater affordability.
Two Wild Hares Bubble Bar Recipe Overview
If you’re looking for a foolproof recipe to create your own bubbly bath bars, look no further than Two Wild Hares’ Ultimate DIY Bubbly Bath Bar Recipe. This recipe is so easy to follow that most people’s first attempt turns out beautiful, and it’s a cost-effective solution compared to buying retail bars.
Ingredients and tools needed for the recipe
To make the DIY bubbly bath bars, you’ll need to purchase baking soda and a few other ingredients that are easily available. Two Wild Hares provides a list of economical merchants to purchase ingredients. Besides ingredients, here’s what you’ll need:
– Mixing bowl
– Measuring spoons
– Whisk
– Gloves (optional)
– Silicone spatula
– Soap molds
– Rolling pin or pasta maker
Step-by-step instructions for making the bubble bars
Two Wild Hares’ recipe comes in a PDF download, which includes a foolproof recipe with detailed instructions on how to create your own bars. Here’s a brief overview of the steps:
1. Mix the dry ingredients (baking soda, citric acid, cornstarch, and SLSA powder) in a mixing bowl.
2. Add wet ingredients (glycerin, oils, and fragrance oil) to the dry mixture. Mix thoroughly but quickly to avoid clumping and fizzing.
3. Separate the mixture into portions, color them differently, and shape them using a rolling pin or pasta maker.
4. Layer the differently colored portions onto one another.
5. Roll the dough to create a jelly roll look.
6. Set the bars aside to dry.
7. Unmold the bars and store them in an airtight container until use.
Two Wild Hares provides detailed instructions on how to create different shapes and colors using various molds and colors and includes ten jam-packed pages for a complete solid bubble bath how-to guide. With the Ultimate DIY Bubbly Bath Bar Recipe, you can enjoy your creations in your own tub in just a few days.
The Different Types of Bubble Bars
Bubble bars have become increasingly popular among DIY enthusiasts and businesses. These bars are essentially bath bombs, but they produce tons of bubbles in the tub. There are different types of bubble bars available in the market, such as traditional round and cylindrical shapes, but creative enthusiasts can also make unique shapes. If you’re thinking of making your own bubbly bath bars, then the following guide can help you learn about the different types of bubble bars and how to create unique shapes and designs.
Overview of the various bubble bar shapes and sizes
Bubble bars come in different shapes and sizes. Here are the most common types:
1. Round Bubble Bars: Round bubble bars are the traditional shape. They are easy to mold and work well for beginners because they are simple to make and mold.
2. Cylindrical Bubble Bars: Cylindrical bubble bars are similar to round balls, but have flat ends. These are more challenging to make for beginners because the texture on the ends must be perfect to produce bubbles.
3. Rectangular Bubble Bars: Rectangular bubble bars are similar to the size and shape of the standard soap or chocolate bar. They are great for beginners because they are easier to mold.
4. Animal-Shaped Bubble Bars: Animal-shaped bubble bars are perfect for the kids or animal lovers out there. They come in various shapes, like ducks, bears, rabbits, etc.
Instructions for creating unique shapes and designs
Bubble bars present a lot of opportunities for creativity. If you want to create your unique shapes and designs, you can use molds, cookie cutters, ice cream scoops, or silicone baking pans. Here’s how:
1. Use a silicone baking pan with different shapes to create unique bubble bars. You can use a heart-shaped pan or make bear- or whale-shaped bars.
2. Use a cookie cutter to create unique shapes, like stars, flowers, or leaves.
3. Use an ice cream scoop to create bars. Ice cream scoops come in all sizes, and you can create bars that are small or large, depending on the scoop size.
4. Use molds to create unique shapes. You can make bubble bars in shapes like crowns or Christmas trees.
In conclusion, with the right ingredients, tools and creativity, you can create your unique bubble bars and enjoy their luxurious lather in your tub. The Ultimate DIY Bubbly Bath Bar Recipe from Two Wild Hares provides a step-by-step guide with detailed instructions for making your own bubbly bath bars. Try it out today and see how easy and fun it is to create unique bubble bars.
Benefits and Customizations
Benefits of using Two Wild Hares bubble bars on your skin
Using Two Wild Hares’ DIY bubbly bath bars provides many benefits to your skin. The primary ingredient, baking soda, has natural exfoliating properties that slough off dead skin cells. These bars also contain SLSA powder, which is a sulfate-derived ingredient known for its skin conditioning properties.
Furthermore, Two Wild Hares’ recipe includes ample amounts of moisturizing oils and glycerin. The oils are nourishing for your skin, keeping it smooth and soft. Glycerin helps to lock in moisture, preventing dryness, flakiness, and itchiness.
Finally, because these bars are made with natural ingredients, they are gentle on your skin, making them safe for use on anyone in your family, including children.
Customization options for scents, colors, and filler ingredients
One of the standout features of Two Wild Hares’ DIY bubbly bath bars is the endless customization options. You can adapt the recipe to your liking and create bars that suit your unique preferences. Some of the customizations you can make include:
– Scents: With a vast selection of fragrance oils available, you can create custom blends of essential oils and fragrance oils to create any aroma possible.
– Colors: Using natural food dyes or cosmetic-grade micas, you can make bars in any shade. From bright and bold to pastel and subdued, the choice is yours.
– Filler ingredients: You can add additional ingredients such as dried flowers, oatmeal, and Epsom salts to provide additional nourishment and benefits.
By tweaking the recipe, you can create bars that cater to specific skin concerns, such as acne-prone, aging, or dry skin.
In conclusion, Two Wild Hares’ Ultimate DIY Bubbly Bath Bar recipe is an excellent choice for creating your own custom bath bars. Its simple instructions, easily obtainable ingredients, and vast customization options make it a winner. Whether you’re looking to pamper yourself or create custom bars to sell, this recipe provides the perfect solution.
Frequently Asked Questions
Answers to common questions about making bubble bars
Q: What is a bubble bar?
A: A bubble bar is a solid bath product that creates bubbles and foam when placed under running water. It usually contains baking soda, citric acid, and SLSA powder as its primary ingredients.
Q: How do I use a bubble bar?
A: To use a bubble bar, crumble it under running water, or break off a piece and hold it under the tap. The more water you use, the more bubbles the bar will create.
Q: Can I substitute ingredients in the Two Wild Hares bubbly bath bar recipe?
A: It’s possible to substitute some of the ingredients for others. However, it’s essential to ensure that the substitute ingredient is compatible with the recipe and does not alter its consistency or efficacy.
Tips and tricks for perfecting your bubble bar recipe
– Start with dry hands and tools to prevent moisture from activating the ingredients prematurely.
– Use a food processor to grind down lumpy ingredients and create a fine powder.
– Incorporate the wet ingredients gradually to avoid over-wetting the mixture.
– Use silicone molds for easy removal and uniform shapes.
– Allow the bars to dry completely before packaging or using to prevent them from sticking together or losing their shape.
– Store the bars in an airtight container to extend their shelf life.
By following these tips and tricks and experimenting with different scents and colors, you can create unique and personalized bubble bars that offer a luxurious bath experience.
Experimenting with Fragrances
Overview of fragrance oils and essential oils
Fragrance oils and essential oils are both popular options for adding scents to DIY projects like Two Wild Hares’ Ultimate DIY Bubbly Bath Bar recipe. While fragrance oils are artificial oils often made from a combination of synthetic and natural ingredients, essential oils are natural oils extracted from plants. Essential oils are generally considered the safer, more organic option as they are free from harmful chemicals, and can provide therapeutic benefits beyond their scent.
That being said, essential oils can be expensive, and some scents are only available as fragrance oils. Fragrance oils tend to have a stronger scent and come in a wider variety than essential oils, making them perfect for customizing your bubble bars. So, the choice of which to use ultimately depends on what you’re looking for.
Instructions for incorporating different scents into your bubble bars
Now that you understand the difference between fragrance oils and essential oils let’s discuss how to incorporate them into your bubble bars. To start, you’ll want to follow the basic recipe instructions for Two Wild Hares’ Ultimate DIY Bubbly Bath Bars.
Once your base recipe is complete, you can begin adding scents. The amount of oil you use depends on the strength of the scent you want and the oil’s potency. A good rule of thumb is to start with 1% to 3% of the total weight of your recipe. For example, if your recipe makes 1-pound of bubble bars, you would add between 0.16 and 0.48 ounces of scent.
To incorporate the fragrance or essential oil into your recipe, add it to your melted oils and mix well. It’s important to be as thorough as possible when mixing to ensure that the scent is evenly distributed throughout your bars.
Another option is to add your scent directly to your dry ingredients. By doing this, you’ll be able to achieve a more vibrant color and an aroma that lasts longer in the bath. You’ll want to add the scent to the dry ingredients before you add the wet ingredients so that the fragrance or essential oil is evenly distributed throughout the mixture.
In conclusion, adding scents to your DIY bubbly bath bars is easy and allows you to create custom bars that cater to your preferences. Whether you choose to use essential oils or fragrance oils, Two Wild Hares’ Ultimate DIY Bubbly Bath Bar recipe is a great option to experiment with scents. Just remember to start with a small amount of oil and mix thoroughly to ensure an even scent distribution in your bars.
Creating Themed Bubble Bars
Looking for a way to make your DIY bubbly bath bars even more exciting? Try creating themed bubble bars inspired by holidays, special events, or even your favorite movies or TV shows. With a bit of creativity, the possibilities are endless!
Instructions for making bubble bars inspired by holidays and special events
One great way to create themed bubble bars is to draw inspiration from holidays and special events. For example, you might create pumpkin spice-scented bars for fall or red and green bars for Christmas. Here are a few basic instructions for incorporating holiday and event themes into your bubble bars:
1. Choose your theme and pick scents and colors that match it. For example, if you’re creating bubble bars for a Valentine’s Day theme, you might choose scents like rose or lavender and a pink or red color.
2. Follow the basic recipe instructions for Two Wild Hares’ Ultimate DIY Bubbly Bath Bars.
3. Add your chosen scents and colors to the mix. Be sure to mix well to ensure an even distribution of scents and colors.
4. Use holiday-themed cookie cutters or silicone molds to shape your bars into festive designs.
5. Allow your bars to cool and set completely before packaging them in clear wrap or placing them in a decorative container.
Ideas for creating unique and fun bubble bar designs
If you’re feeling particularly creative, you can try creating unique and fun bubble bar designs that go beyond the traditional shapes and colors. Here are a few ideas to get you started:
1. Rainbow bars – For a fun and colorful twist, create bars with rainbow layers of color and scent.
2. Galaxy bars – Mix dark blue, purple, pink, and silver colors to create a cosmic, galaxy-inspired bubble bar.
3. Animal-shaped bars – Use silicone molds to create bubble bars in the shape of your favorite animals.
4. Donut bars – Create bubble bars that look like delicious donuts by shaping them in a donut mold and adding colorful sprinkles on top.
5. Superhero bars – Create bars inspired by your favorite superhero characters, using colors and scents that match their personality.
In conclusion, creating themed bubble bars and unique designs is a fun and creative way to customize your DIY bath products. Whether you’re making bars for holidays, special events, or just for fun, the possibilities are endless. Just remember to follow the basic recipe instructions and be sure to mix thoroughly to ensure an even distribution of scents and colors.
Storing and Packaging Bubble Bars
Tips for storing your finished bubble bars
Once you’ve created your perfect bubbly bath bars, you’ll want to make sure you store them properly to ensure their longevity and to protect their bubbly goodness. Here are some tips to keep in mind:
– Store your bubble bars in an airtight container to prevent moisture from affecting their quality and preventing them from losing their scent.
– Keep your bubble bars away from direct sunlight and heat to avoid melting.
– Label your bubble bars with the fragrance or essential oil used, as well as the creation date to keep track of their freshness.
– Keep your bubble bars out of reach of children or pets as they can be a choking hazard if ingested.
Ideas for packaging and presenting your bubble bars as gifts
Bubble bars also make great gifts for friends and family who enjoy a luxurious soak in the tub. Here are some creative ideas for packaging and presenting your bubble bars:
– Place your bubble bars in a Mason jar and tie a ribbon around the neck for a rustic look.
– Use small, clear plastic bags with a label and ribbon tied at the top for a simple, yet elegant presentation.
– Wrap your bubble bars in tissue paper and place them in a decorative box or basket for a more elaborate gift.
– Add a personalized gift tag or card with a note on how to use the bubble bars for an extra special touch.
With these tips and ideas, your DIY bubbly bath bars will stay fresh and fragrant, while also making for thoughtful and impressive gifts. So, get creative and have fun with your bubbly creations!
Storing and Packaging Bubble Bars
Tips for storing finished bubble bars
When making your own bubble bars, it’s important to store them properly to ensure their longevity and to protect their bubbly goodness. Storing your bubble bars in an airtight container is crucial to prevent moisture from affecting their quality and to avoid losing their scent. Keeping them away from direct sunlight and heat is also recommended to avoid melting. Label your bubble bars with the fragrance or essential oil used, as well as the creation date to keep track of their freshness. It’s essential to keep your bubble bars out of reach of children or pets as they can be a choking hazard if ingested.
Ideas for packaging and presenting bubble bars as gifts
Bubble bars make great gifts for friends and family who enjoy a luxurious soak in the tub. Here are some creative ideas for packaging and presenting your bubble bars:
– Place them in a Mason jar and tie a ribbon around the neck for a rustic look.
– Use small, clear plastic bags with a label and ribbon tied at the top for a simple, yet elegant presentation.
– Wrap them in tissue paper and place them in a decorative box or basket for a more elaborate gift.
– Add a personalized gift tag or card with a note on how to use the bubble bars for an extra special touch.
Final Thoughts
Overall, creating your own Two Wild Hares bubble bars can be a rewarding and fulfilling experience. Not only do you have the creative freedom to customize the scent and appearance of your bubble bars, but you also have control over the quality of the ingredients used. With the tips for storing and packaging your finished products, you can ensure the longevity and freshness of your bubble bars.
Overview of the benefits and rewards of creating your own Two Wild Hares bubble bars
There are numerous benefits to creating your own Two Wild Hares bubble bars. Some of these benefits include:
– Customizing the scent and appearance of your bubble bars to your liking.
– Ensuring the quality of the ingredients used in your products.
– Saving money in the long run by creating your own products.
– Enjoying a therapeutic and relaxing bubble bath experience.
Additional resources and inspiration for soap makers.
If you’re new to soap making or looking for additional inspiration, there are many resources available online. Some helpful resources include soap making blogs, YouTube channels, and online soap making communities. Pinterest is also a great platform to find inspiration for packaging and presenting your finished products. With a little research and creativity, you can create beautiful and luxurious bubble bars that are both enjoyable and thoughtful gifts for loved ones.